

I wish I had known how much of a difference this would make, I would have done it years earlier.
It’s a process, some aspects are DIY others not at all. Here I will share the process.
Starting off with #water testing:
Sounds simple. Getting it done is, you can do it yourself or take it in to your local pool supply. Most pool suppliers will do free water testing just take in a bottle of your water. Mine showed after simple test that it had no chlorine .. I knew this was incorrect as I had just added 4 gallons.. Ok a further test.. Yes the more definite test showed I had so much conditioner after years of build up that the chlorine I was adding had no chance of being effective. Advise was to drain the pool and add fresh water. I was rather shocked, so I decided to do some research, yes that means me on google hahaha! There wasn’t a reliable treatment, I did need to drain it.
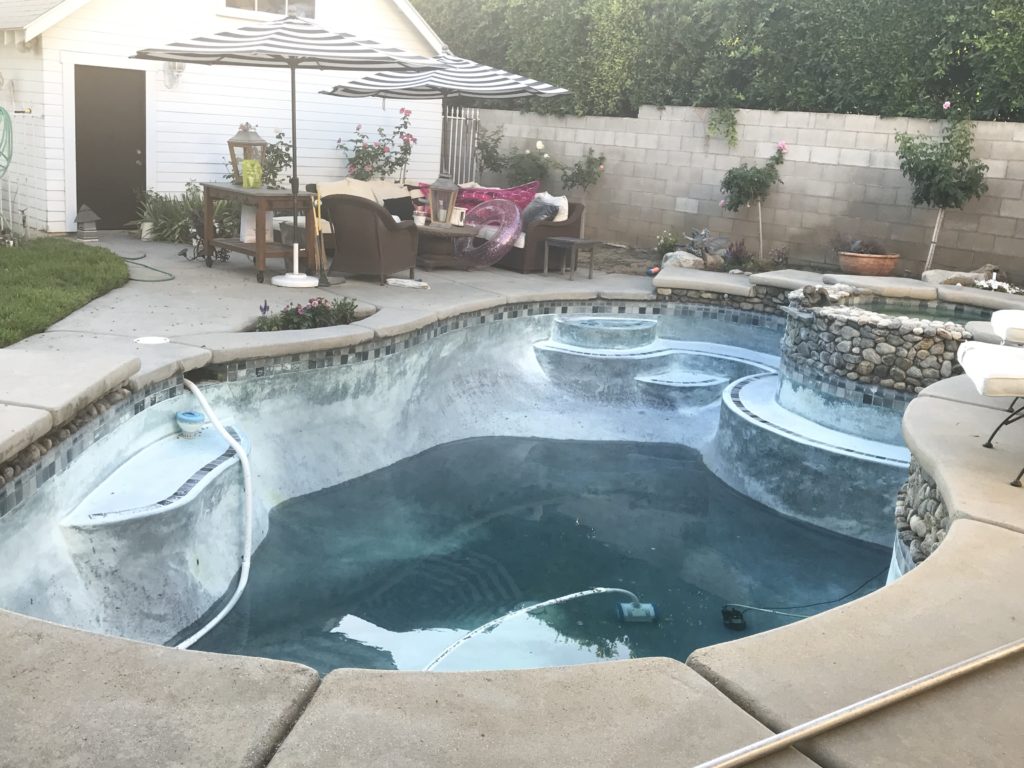
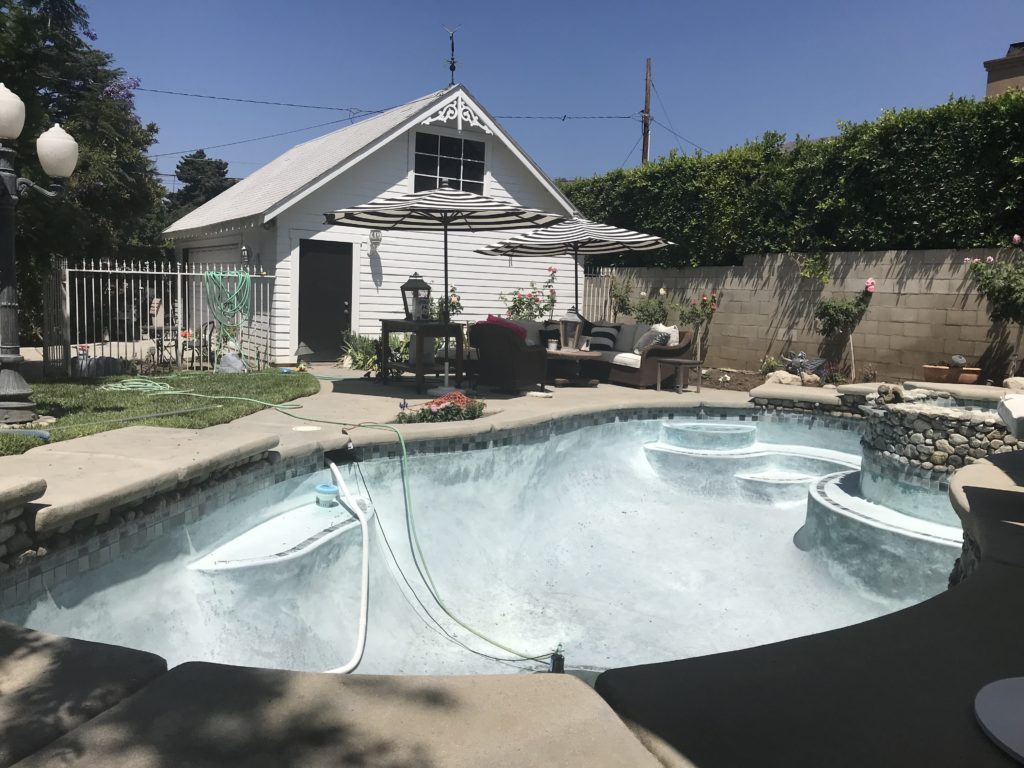
Next Step Drain the pool:
You can hire someone to come out or do it yourself. First get a pump.. they are faster (more power) and more cost effective to rent. I’m someone what of a chicken and like the slow but steady simple approach. I got a simple inexpensive pump to do the job. Find your sewer clean out drain (I opted for this as opposed to pumping it out to the street) Draining into the sewer is more enviromentally friendly, it’s not allowing this treated pool water to flood your grass, your neighbors or the ocean. It also when in the sewer goes into the water treatment facifilies to be cleaned and reused. With the little pump I used this can take a few days. It’s also not recommended to leave your pool unfilled for any length of time.
Next Clean!
Here’s where the pool reminded me of pitfalls of painting a room. You know the well as long as I have this all torn apart feeling why don’t I? Hahaha you know what I’m talking about don’t you? I got out there with the vinegar, the pumice stone, baking soda etc. it took no time at all for me to realize it was an overwhelming task with the sheer size of the pool. I mean this was no shower or sink cleaning.. I needed pro help. I began to google (where would we be without the ability to search so easily, I absolutely feel for those prior to internet trying to figure this out)
Next Pro Help:
I watched numerous youtube videos and was so intrigued. I had mistakenly thought that the fading color of my plaster was due to age. I was disappointed in the change, several pool equipment guys had told me it was just cosmetic and not worth the cost of to re-plaster just for looks. It was about $5K+ for this and not in my budget, to see a darker colored water. I was so excited to be wrong, not sure I’ve ever been so thrilled about that haha!!! Turns out it was not faded it was a build up of 25yrs of calcium in the water. So underneath that was my dark plaster, the key would be trying an acid wash to see if they could successfully remove it. I say pro help in that this is not a one person job, you need someone doing the application another washing it off as you go etc.
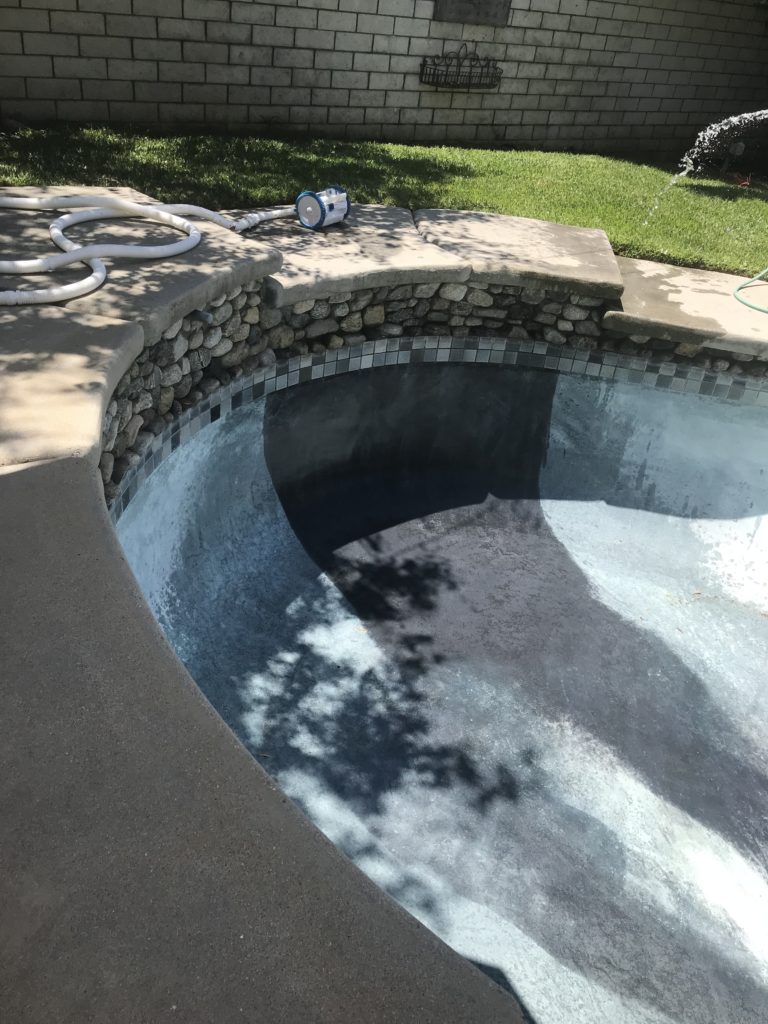
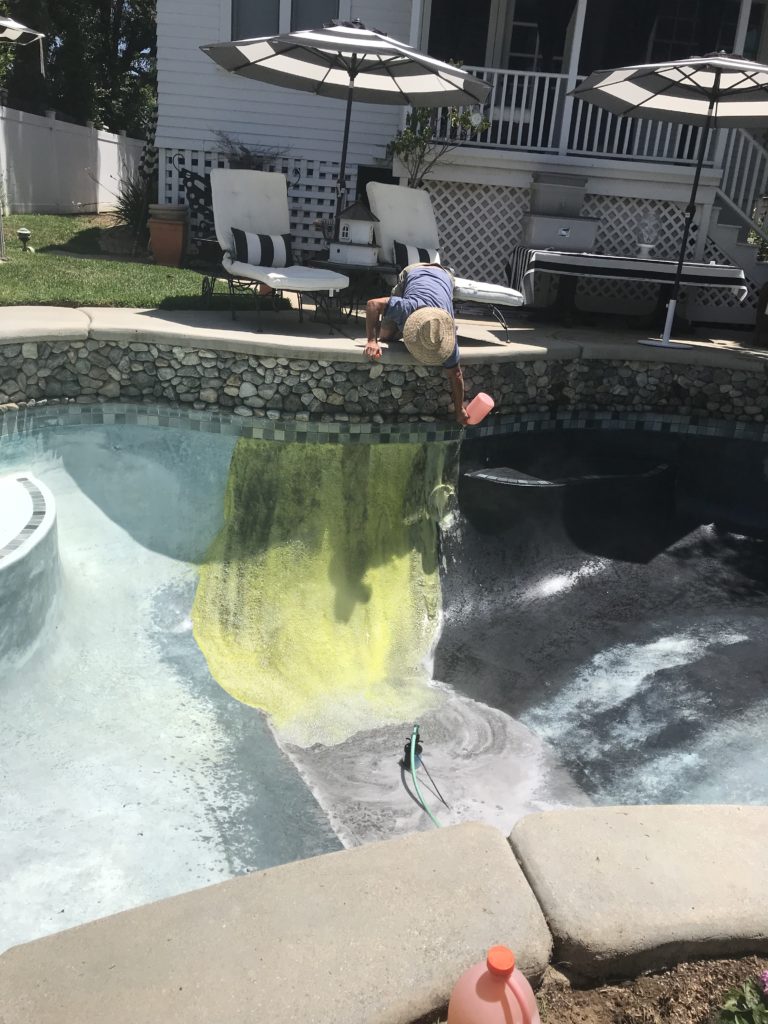
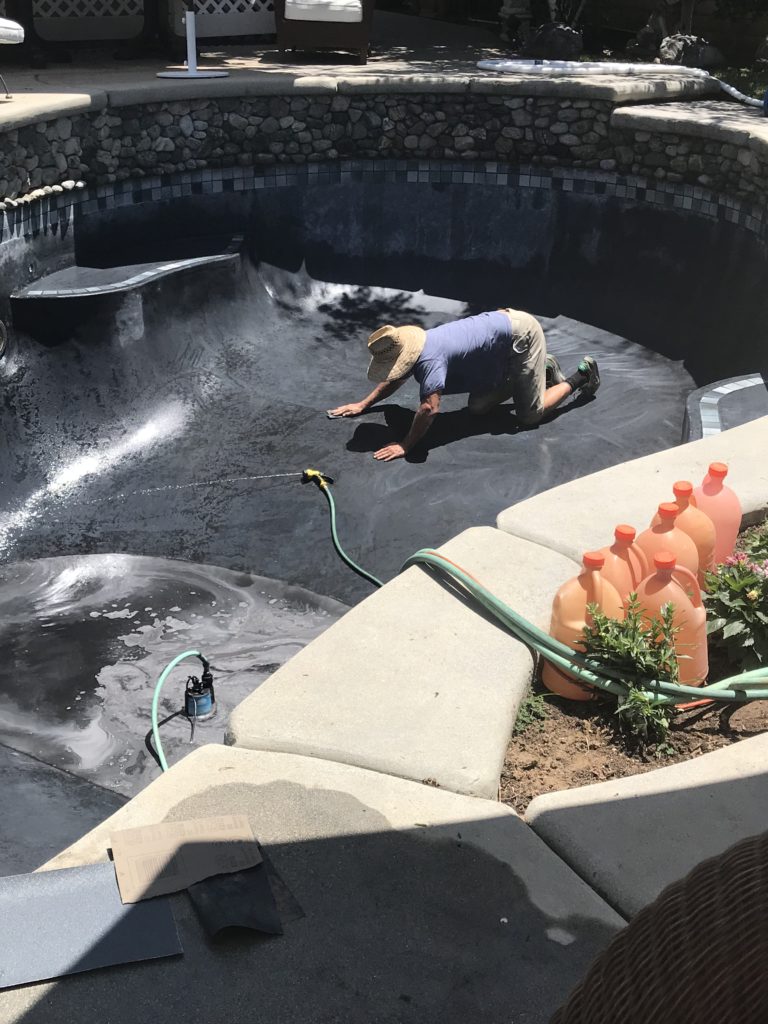
Next Acid Wash:
Ok fingers crossed, my pool was drained, and I had some guys come out.. this was an easier job in that if you know initially your going to do this deep clean they will drain the pool for you it’s included. The dark plaster is a bit trickier for them so I’m told in that it can etch easier. We knew instantly if it worked. I had to watch, note the fumes are beyond strong from the acid it takes your breath away, and I was no where close. Here is a picture of the very first test section where you can see the before/after next to each other.
I jokingly called this a pools version of a facial chemical peel. It’s true however you are taking off a layer of plaster when you do this. I was told it’s only wise to do twice maybe three times, then you need to re-plaster. My pool had never been #acidwash and that was a calcium deposit build up of 26yrs.
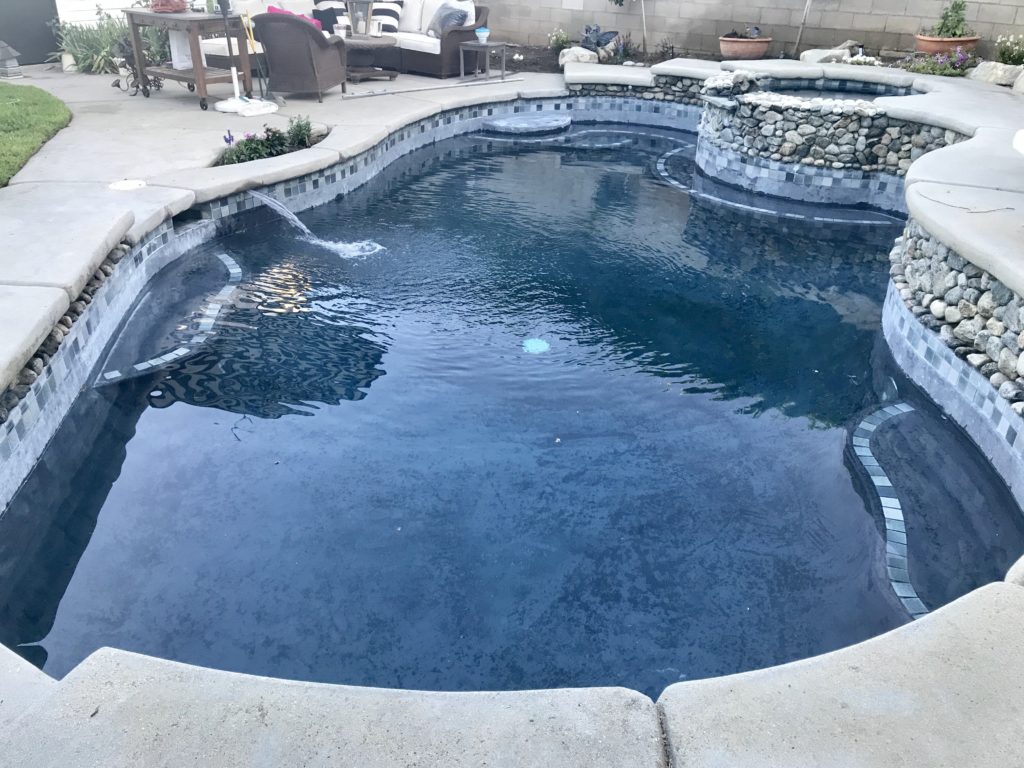
This was so exciting! I was beyond thrilled to see that dark grey plaster yet again!!! YAY!!!
Next sanding very lightly for smoothness
I didn’t see this step on the you-tubes however it is great to do, you’ve done a peel so to speak, smooth out the surface..
Next fill the pool with fresh water
This was fabulous, note you don’t want to start/stop on the fill or you might get a ‘line’ in your plaster. If your worried about overnight, just turn the flow down to lower .. if using a hose use a cloth to minimize any marks on the bottom (we have a pool fill valve)
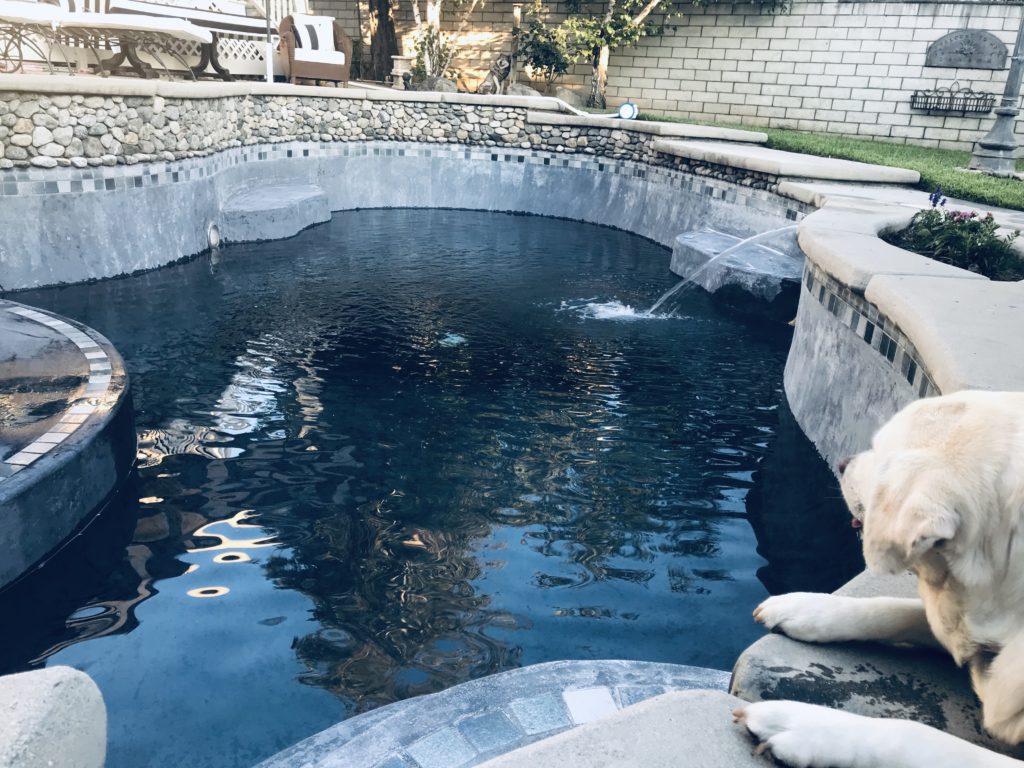
this is her happy place
Final Step..
Take a water sample to be tested.. mine only needed conditioner and half a gallon of chlorine.. I also added a gallon of #beautec scale controller (as a preventive, our area has some hard water easier to prevent then clean!)
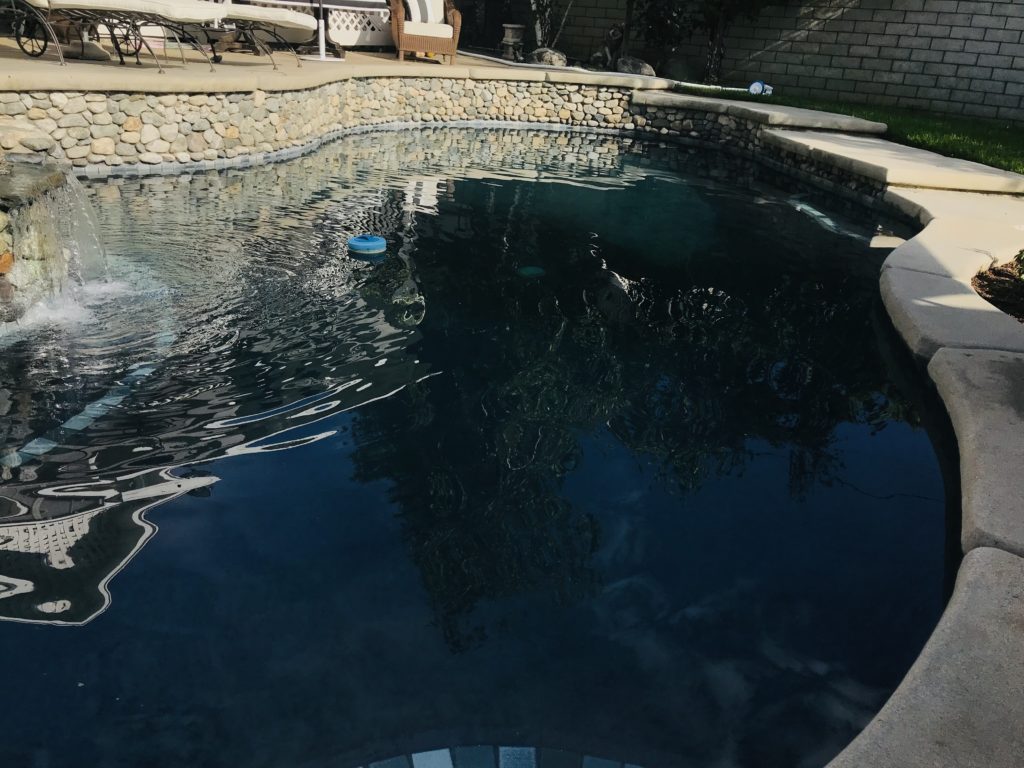
I have absolutely no regrets in doing the acid wash, the pool was empty and it was worth it for me to get the dark color plaster showing again. It also took a lot less time then painting a room etc. The entire acid wash process itself took the guys about 2 hours total.